Your First Tour
Create your first tour and add trips to start planning
Your First Tour
Now that you’re signed in, it’s time to create your first tour and start planning your adventure. A tour is the top-level container for all your travel planning—it can span months or years and include multiple trips.
Creating a New Tour
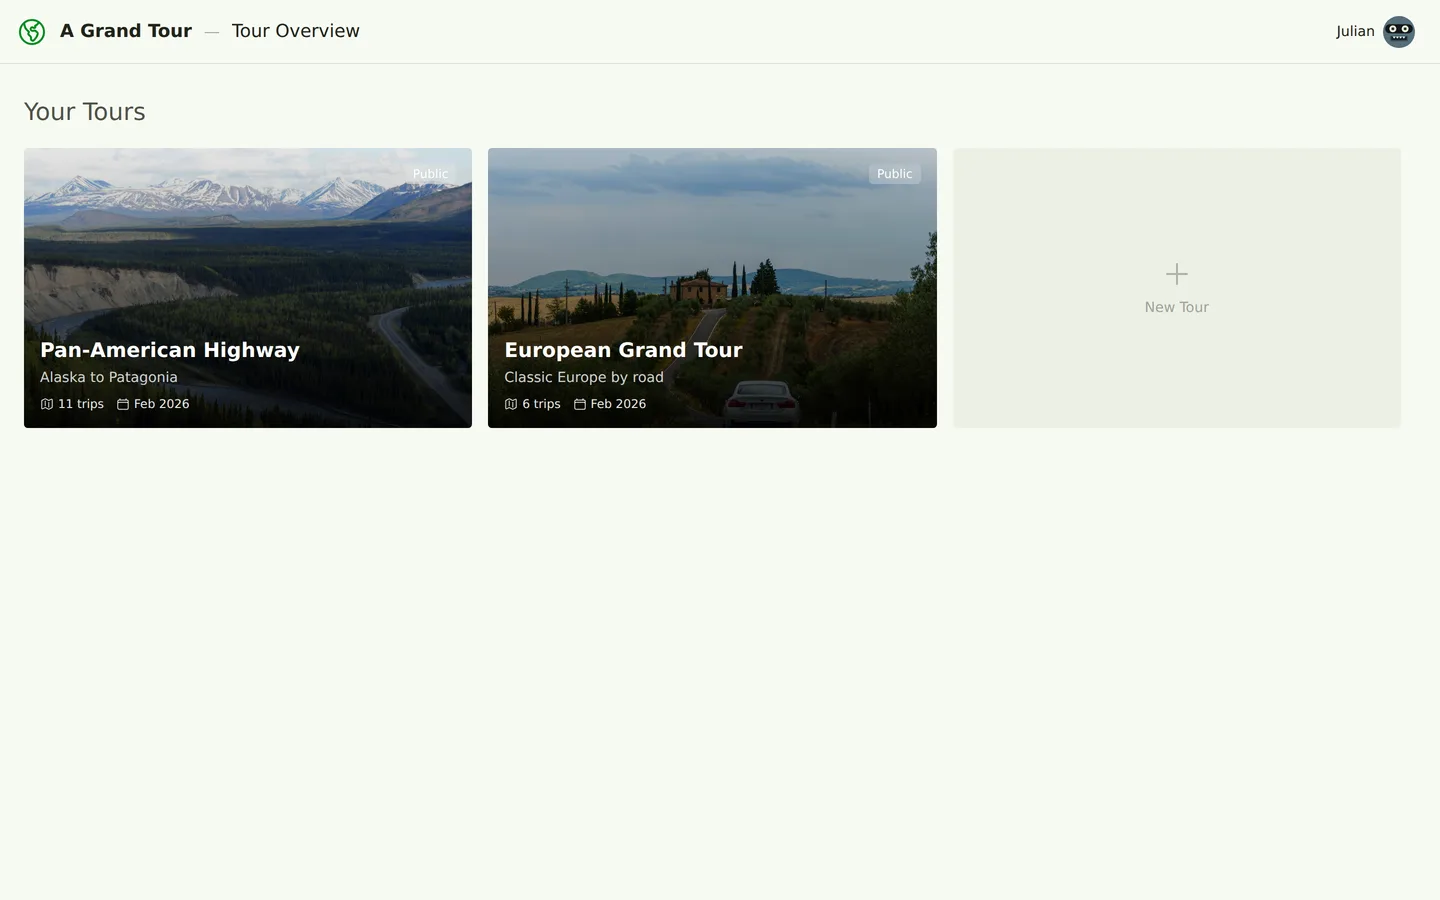
- From the home page, click Tours in the navigation bar
- Click the New Tour button
-
Fill in the following details:
- Name: Give your tour a memorable name (e.g., “Trans-Africa Expedition 2026”)
- Subtitle: Add an optional tagline or description (e.g., “Cairo to Cape Town overland journey”)
- Click Create Tour
Your new tour will be created and you’ll be taken to the tour overview page, where you can see the 3D globe and start adding content.
Public vs Private Tours
By default, tours are private—only you can see them. You can make a tour public to share it with others:
- Navigate to your tour
- Open the tour settings (click the gear icon or Edit Tour button)
- Toggle Make Public
- Save your changes
Public tours get a shareable URL that anyone can view (even without an account). This is great for:
- Sharing your plans with friends and family
- Documenting completed journeys as travel blogs
- Collaborating with travel partners
Note: You can always switch back to private later if needed.
Adding Your First Trip
Tours are organized into trips—these represent distinct legs or phases of your journey. For example, a year-long tour might have separate trips for Europe, Asia, and Australia.
To add a trip:
- On the tour overview page, scroll to the Trips section
- Click New Trip
-
Fill in the trip details:
- Name: The name of this trip (e.g., “Egypt & Sudan”)
- Subtitle: Optional description
- Start Date: When you plan to begin
- End Date: When you expect to finish
-
Status: Choose from:
- Planning: You’re still researching and organizing
- Active: You’re currently on this trip
- Completed: The trip is finished
- Click Create Trip
Your trip will appear in the list, and you can click it to view the trip detail page.
What’s Next?
You’ve created your tour and first trip—great work! Here’s what you can do next:
- Plan your route: Add waypoints and generate driving routes between them
- Build your itinerary: Create day-by-day plans with stops, accommodation, and notes
- Explore datasets: Browse points of interest, scenic routes, and ferry crossings to add to your plans
- Write documentation: Create custom guides, packing lists, and country notes
For a deeper dive into working with tours and trips, see Tours and Trips.
Ready to explore the interface? Continue to Understanding the Interface.