Sharing Tours
Make your tour public or share it with specific people
Sharing Tours
A Grand Tour makes it easy to share your travel plans with the world or with select people. Whether you want to inspire other travelers or coordinate with your expedition team, you have full control over who sees your tour.
Public vs Private Tours
Every tour you create starts as private by default. Only you can see it until you explicitly choose to share it.
- Private tours: Visible only to you and any collaborators you’ve invited
- Public tours: Visible to anyone with the URL, and discoverable on the platform
Making a Tour Public
To make your tour public:
- Open the tour you want to share
- Navigate to Tour Settings
- Toggle Make this tour public
- Save your changes
Once public, your tour will appear in the /explore gallery where other travelers can discover it. Public tours are a great way to showcase your journey, get feedback from the community, or inspire others planning similar routes.
Tour URLs
Every tour has a unique, shareable URL in this format:
https://a-grand-tour.com/username/tour-slug
For example: https://a-grand-tour.com/sarah/silk-road-2026
This URL is:
- Easy to share via email, social media, or messaging apps
- Permanent (won’t change even if you edit the tour)
- Clean and memorable
Sharing Specific Content
You don’t have to share your entire tour. A Grand Tour lets you share links to specific pieces of content:
- Individual trips: Share just one leg of your journey
- Datasets: Share your collection of POIs or custom waypoints
- Documents: Share planning notes, visa guides, or country research
Each of these has its own unique URL that you can copy and share. Look for the “Share” or “Copy Link” button when viewing that content.
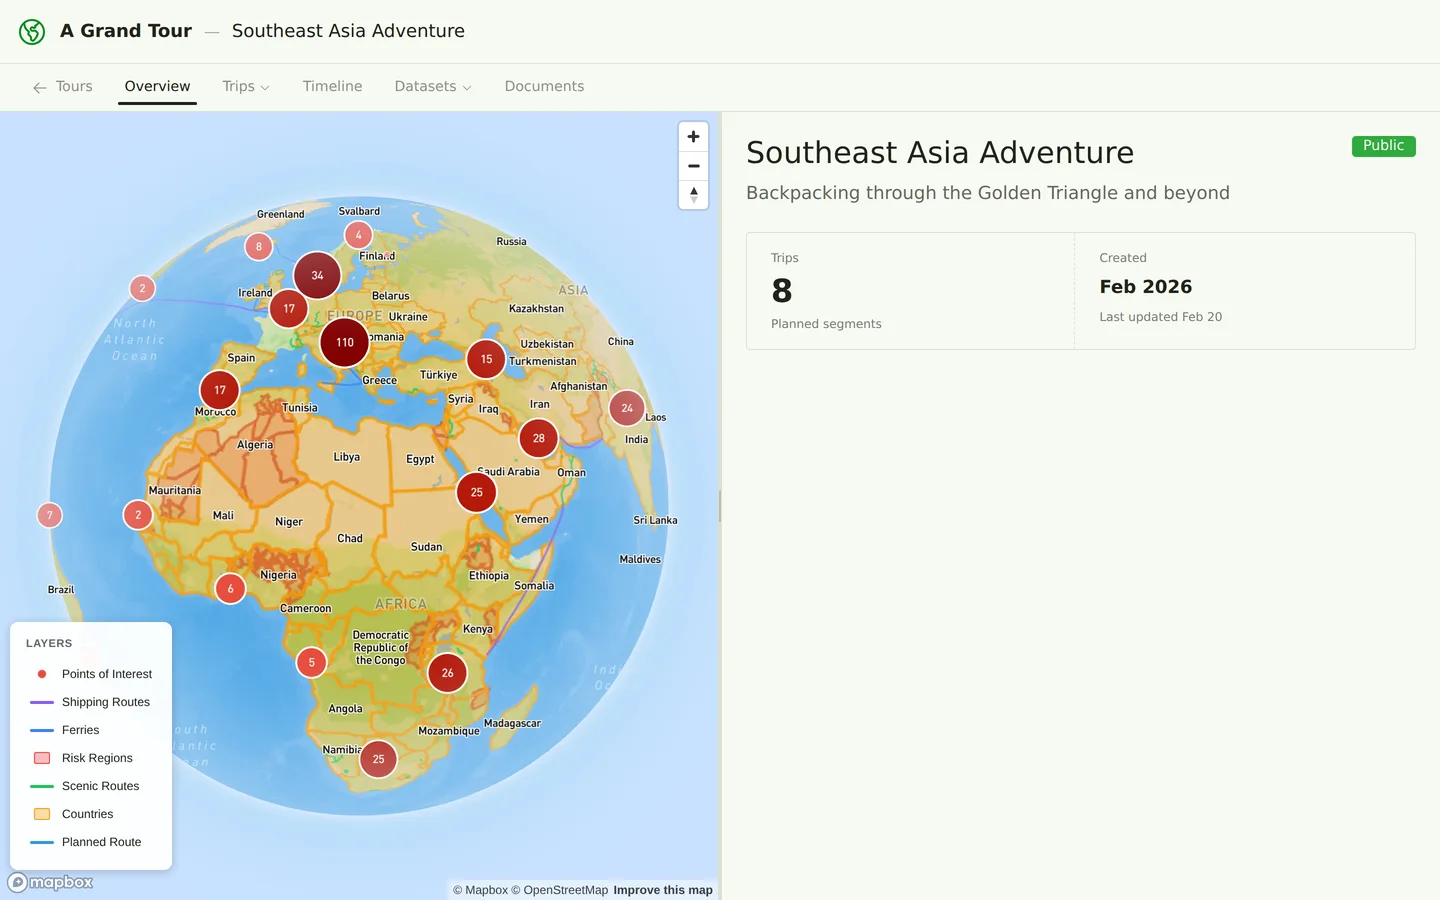
What Visitors Can See
When someone views your public tour, they can see:
- Tour overview and description
- All trips and their routes on the map
- Itinerary items and waypoints
- Published documents
- Your public datasets (POIs, scenic routes, etc.)
- Photos you’ve uploaded
What Visitors Cannot See
Visitors viewing your public tour cannot see:
- Draft documents marked as “private”
- Your account email or personal settings
- Financial data (expenses, budgets)
- Private notes you’ve marked as “personal only”
- Tours you haven’t made public
If you need someone to actively collaborate on planning (not just view), see Collaborators for how to invite them with editing permissions.
Revoking Public Access
Changed your mind? You can make a public tour private again at any time:
- Go to Tour Settings
- Toggle off Make this tour public
- Save
The tour will immediately become private. Anyone with the URL will see a “Tour not found” message.
Tips
- Share early versions of your tour to get feedback from experienced travelers
- Public tours can help you find travel companions heading the same direction
- Consider making planning documents public to help others researching the same routes
- You can always make a tour private temporarily while you work on major updates